Although, March has been so snowy and cold, April will soon be here and so will our LNS Gala! The Extended Day children have been working with clay to create a surprise for the upcoming auction!
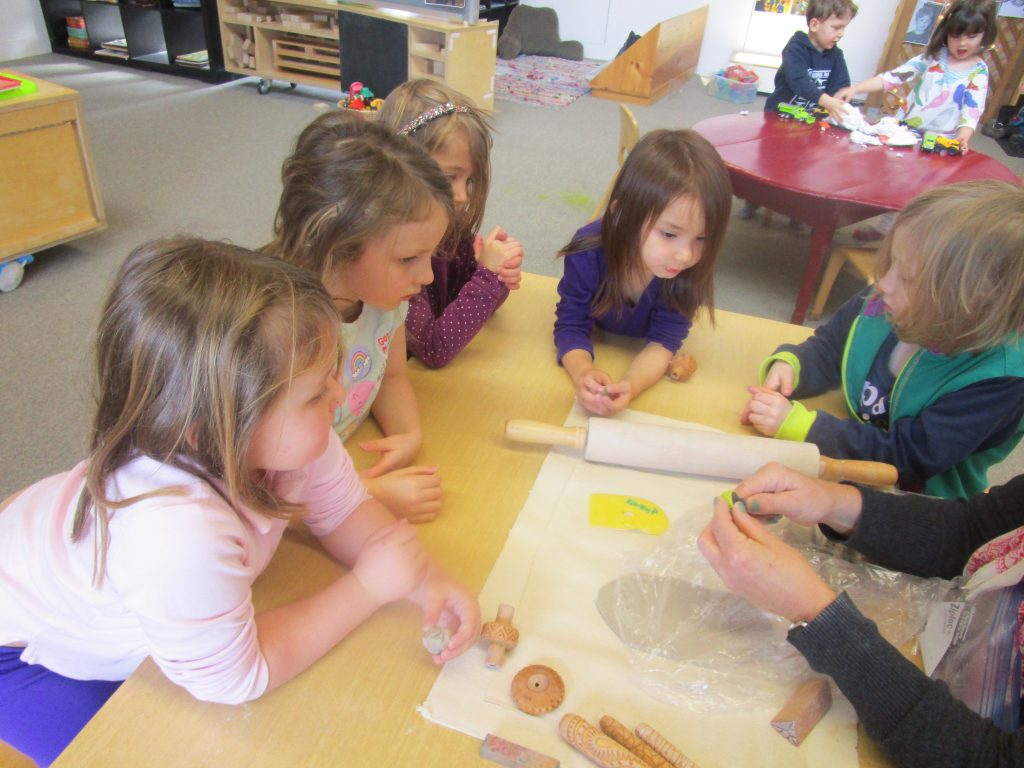
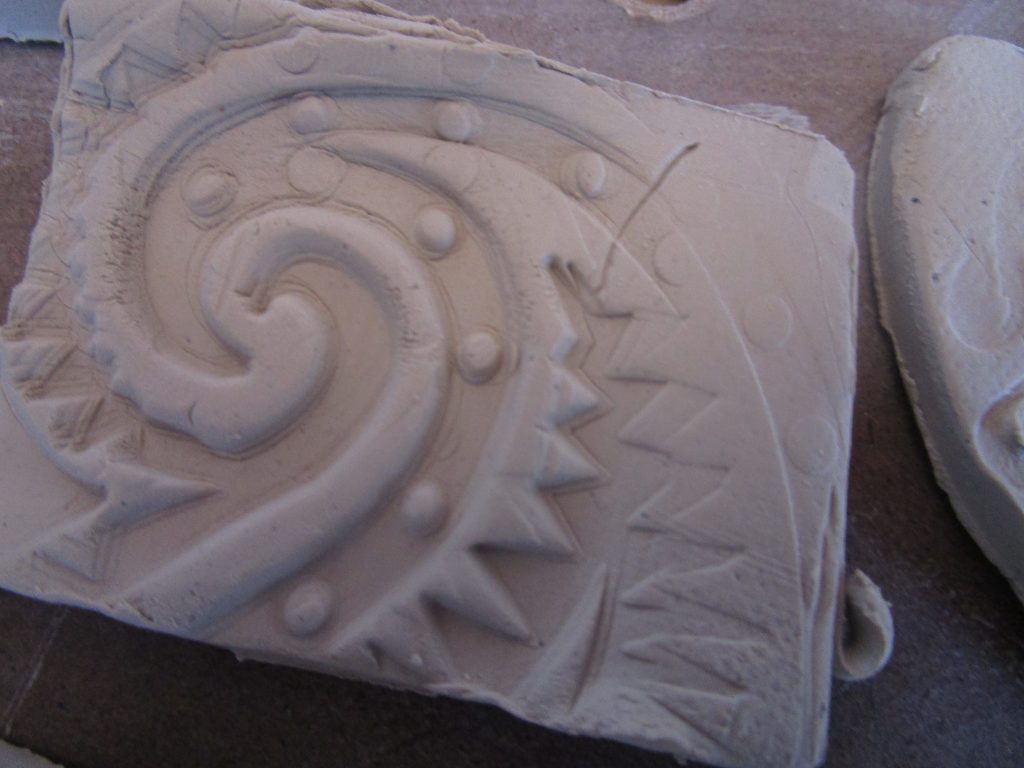
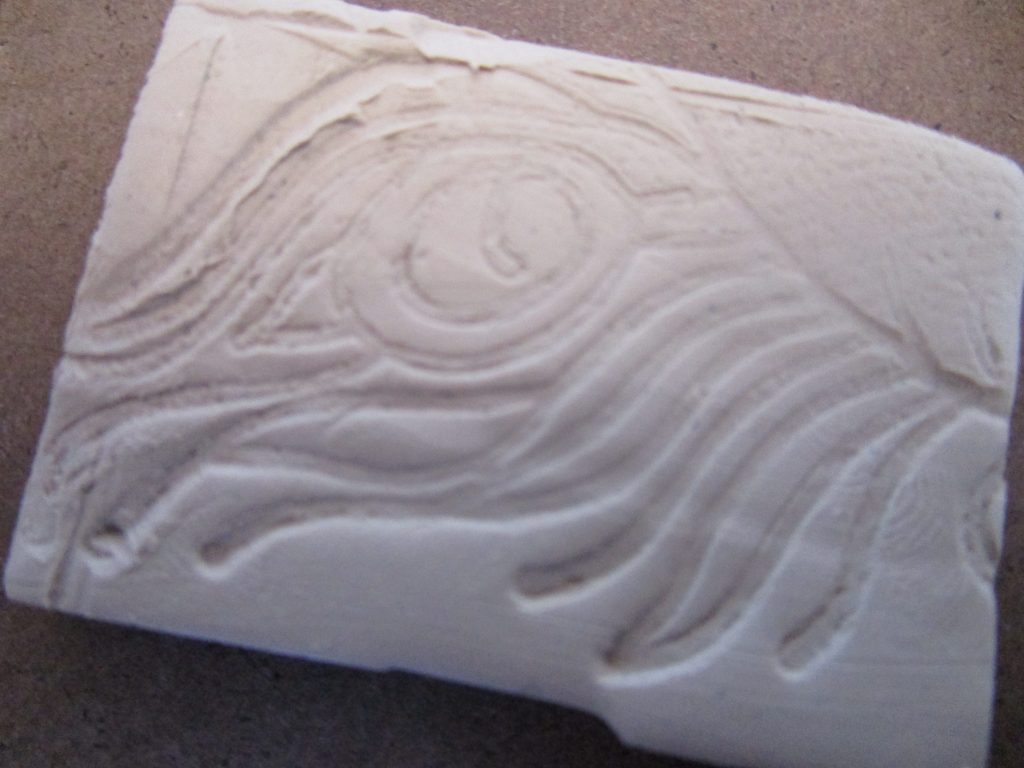
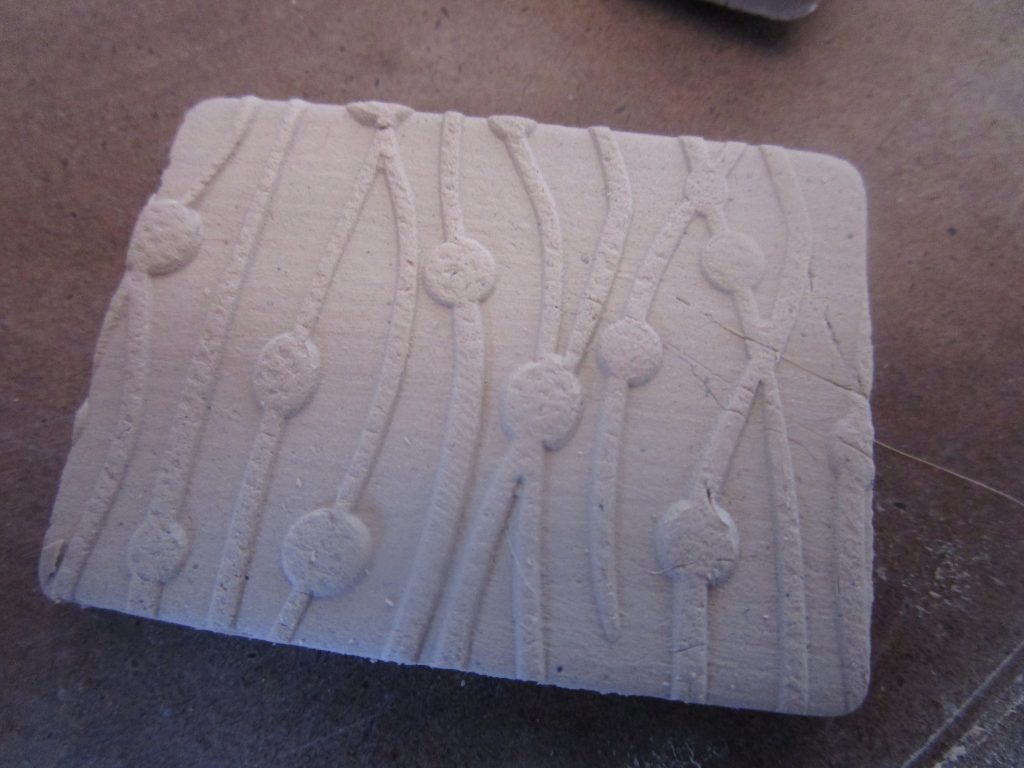
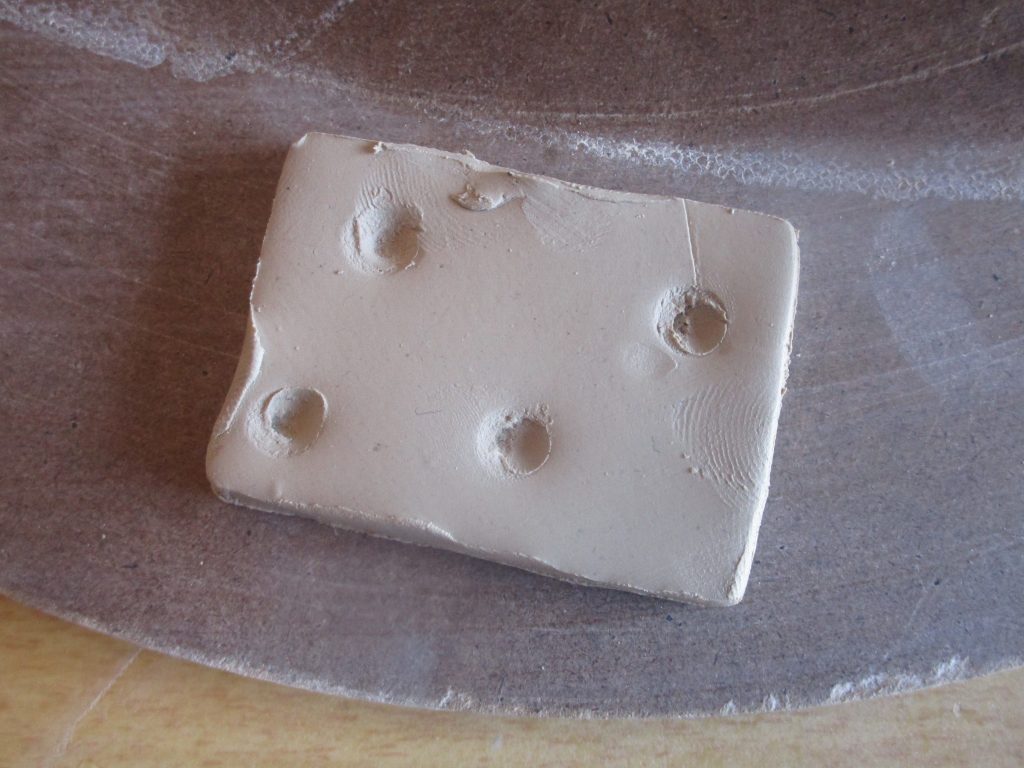
Karen brought in slabs of clay and professional tools from her clay studio. It was intriguing to observe the various objects and to experiment with the various tools and to see and feel the textures that were created.
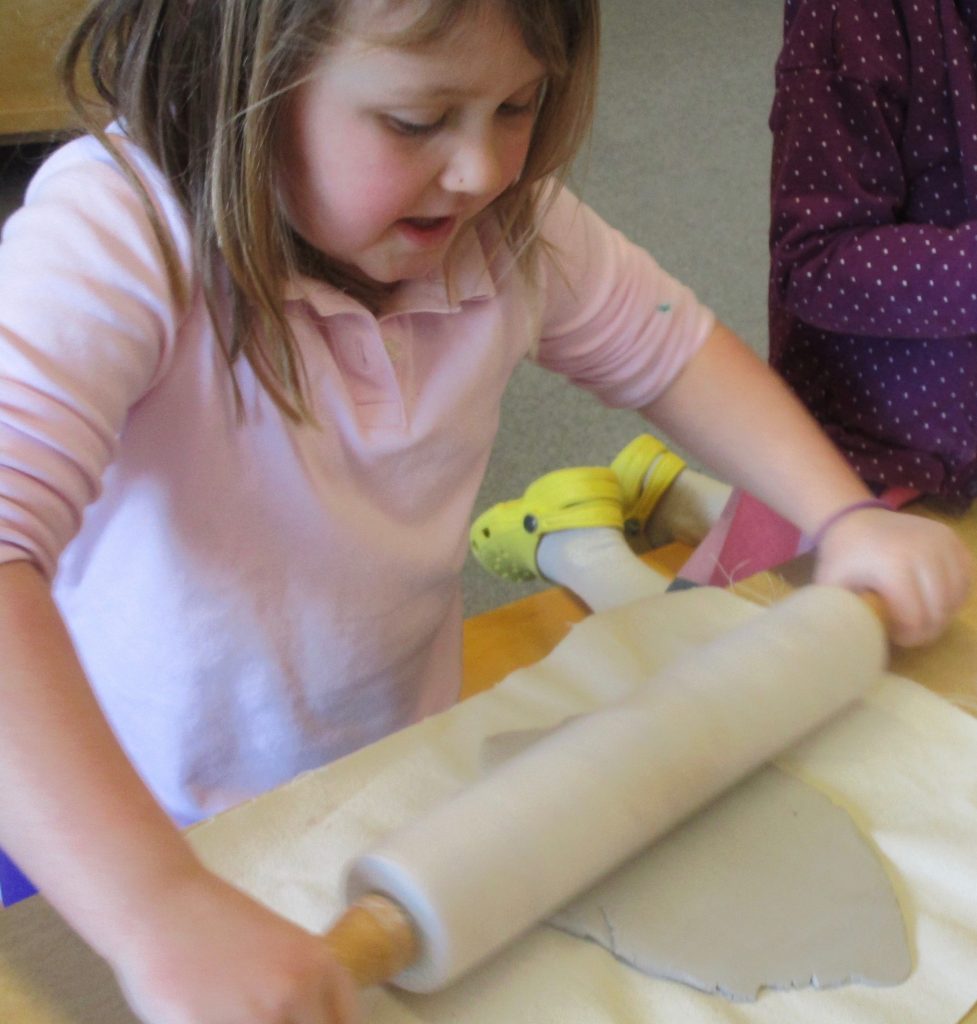
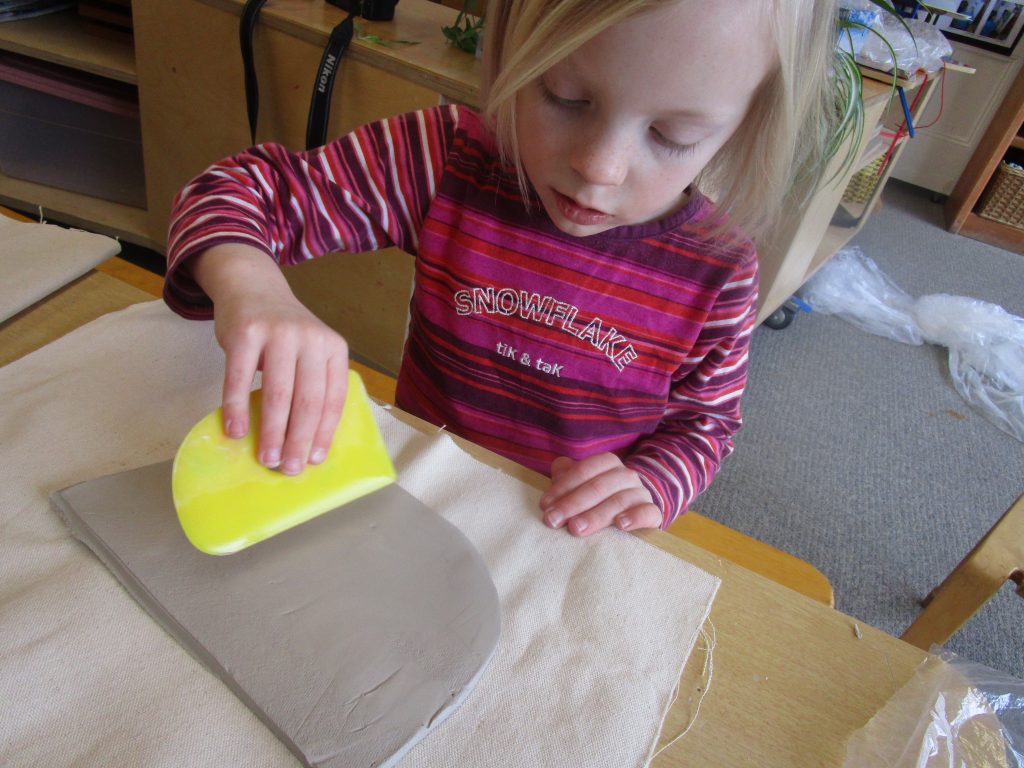
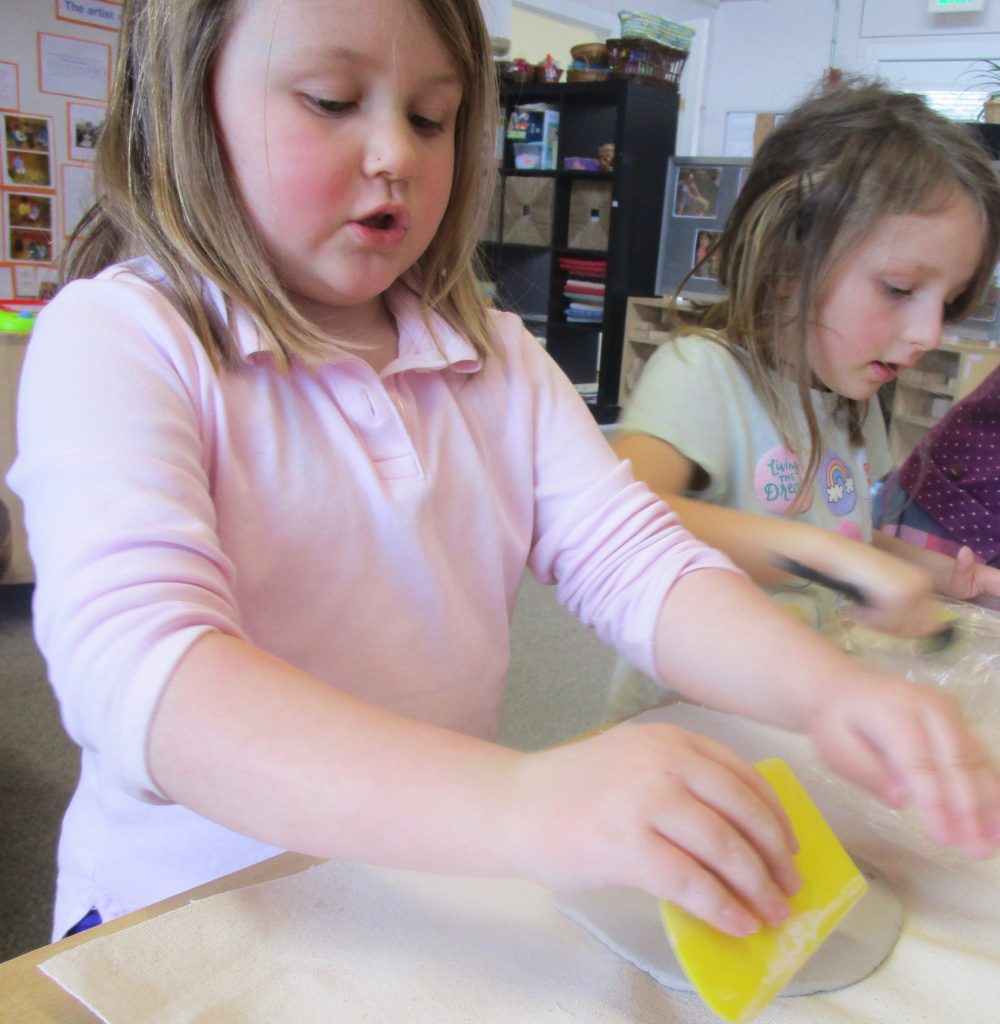
With her clay laid on a piece of canvas Jane uses her strength to roll it out with the heavy rolling pin. The next step is to use the yellow ribs to gently and carefully make a smooth surface. Hannah, Ada, Cal and Jane concentrate on removing any fine lines or textures. In engaging in this slow task, the children appear very calm and focused.
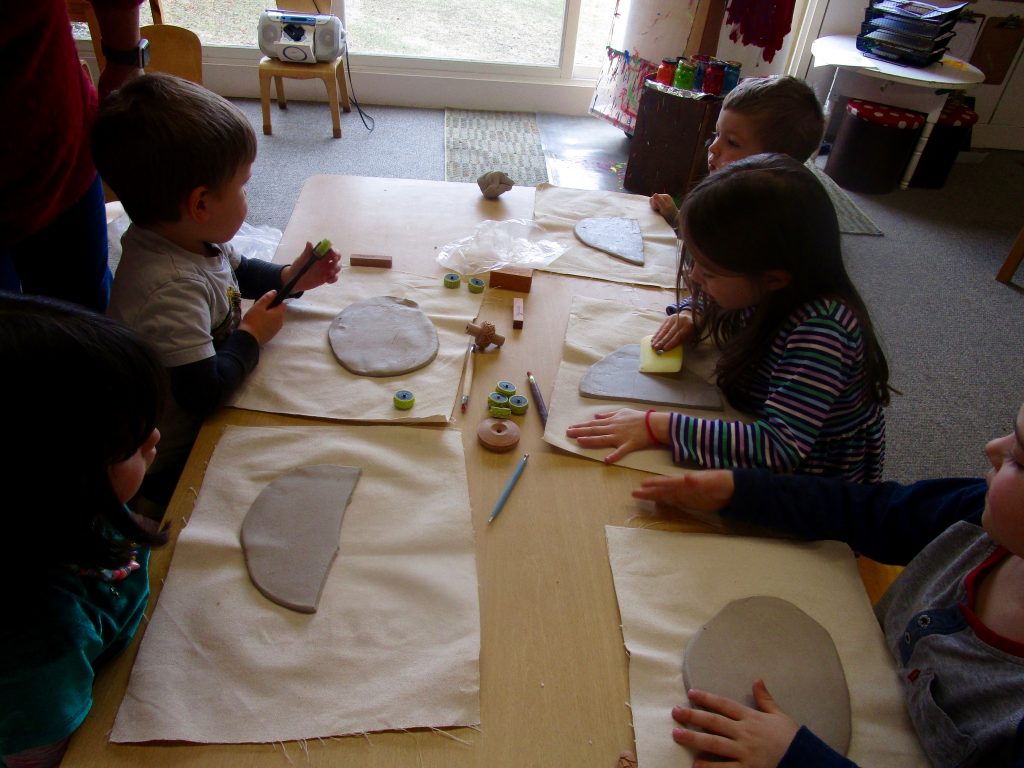
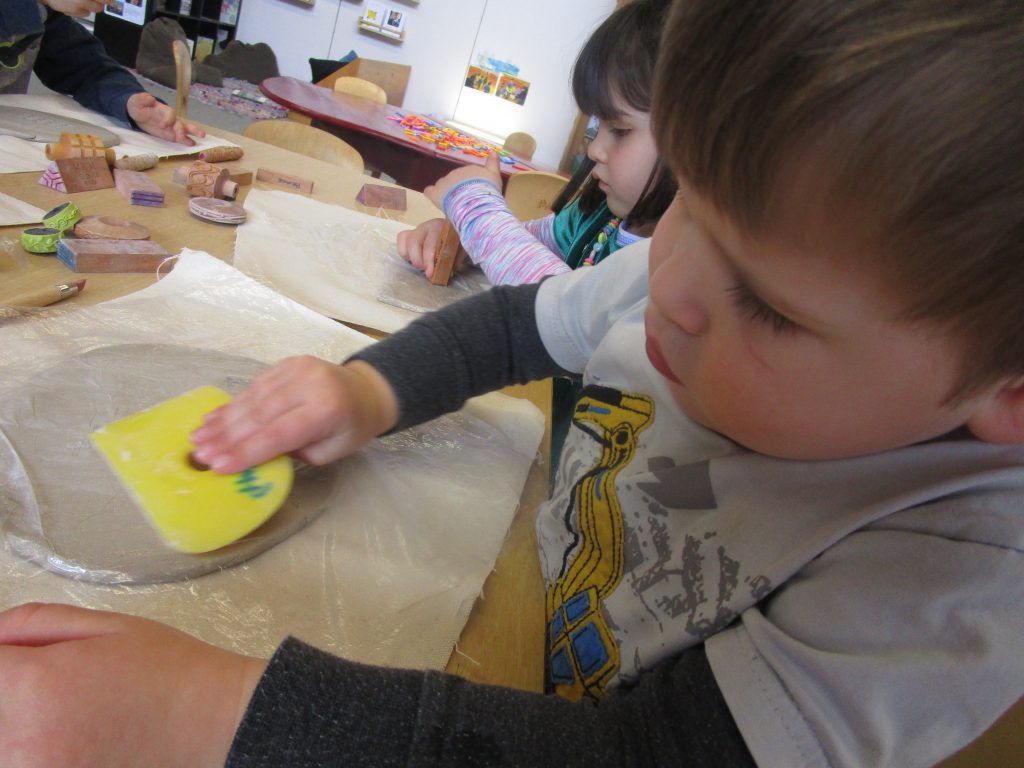
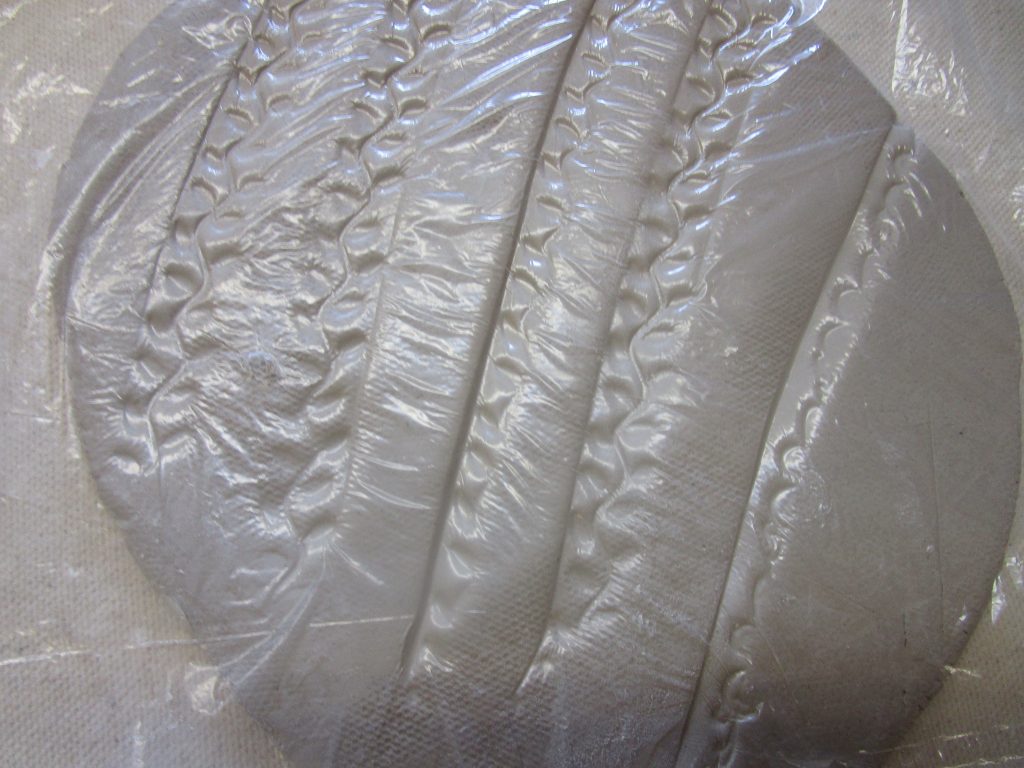
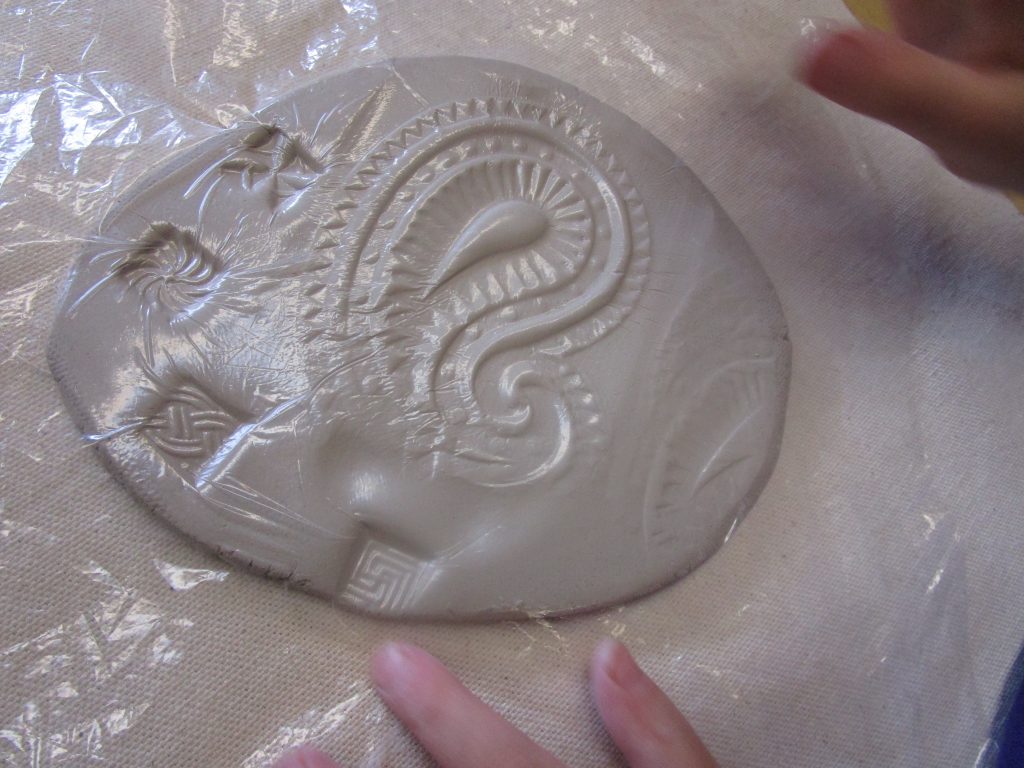
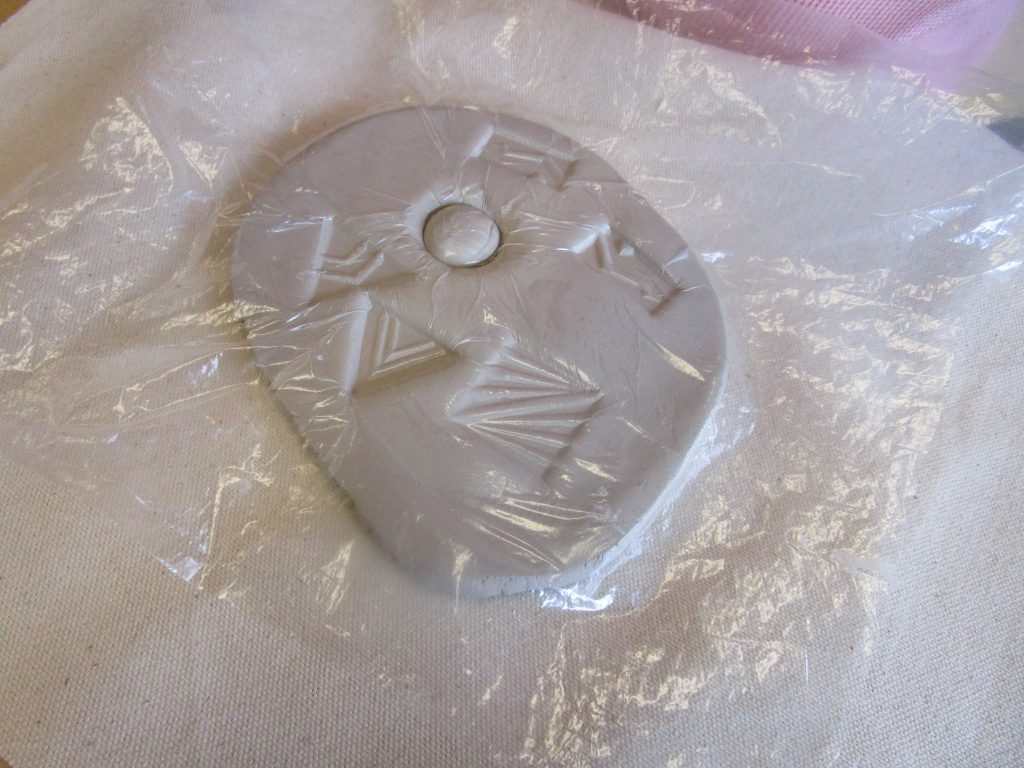
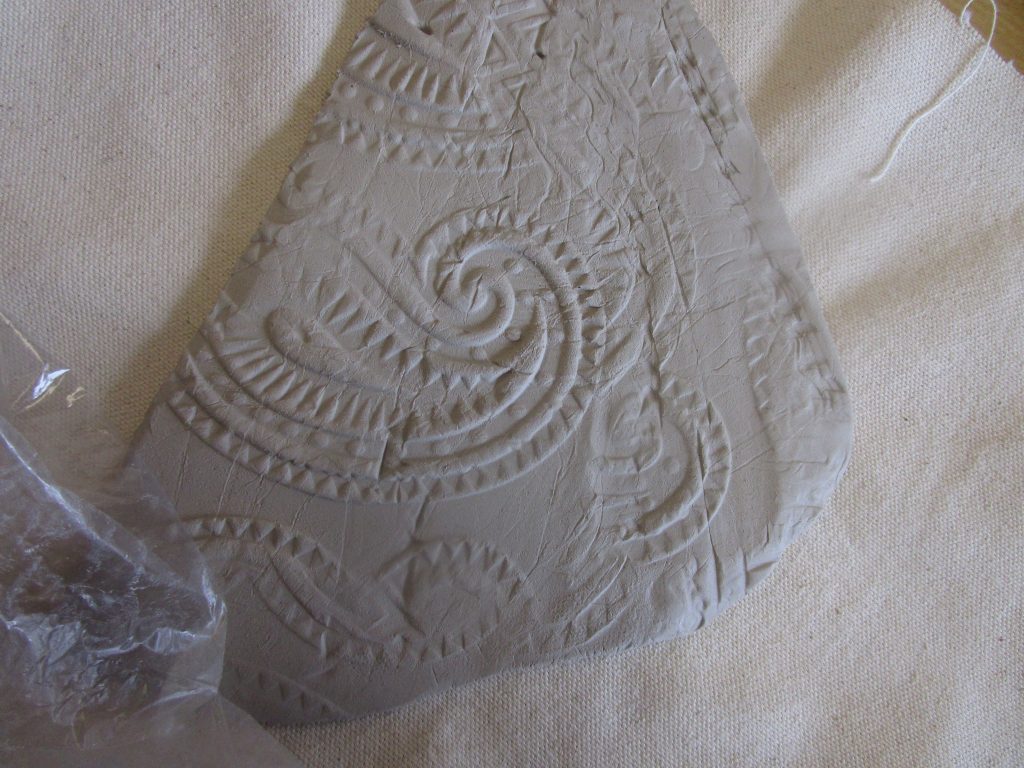
Now we are ready to use the rolling printing tools, the intricate wooden stamps and rollers, the metal imprints, and the shape cutters. First we lay a piece of plastic wrap on the clay, which provides a barrier between the tools and clay, which helps to create smoother textures and also prevents the tools sticking to the damp clay. What is texture? we wonder, Margot knows….’its something you can feel with your hands’.
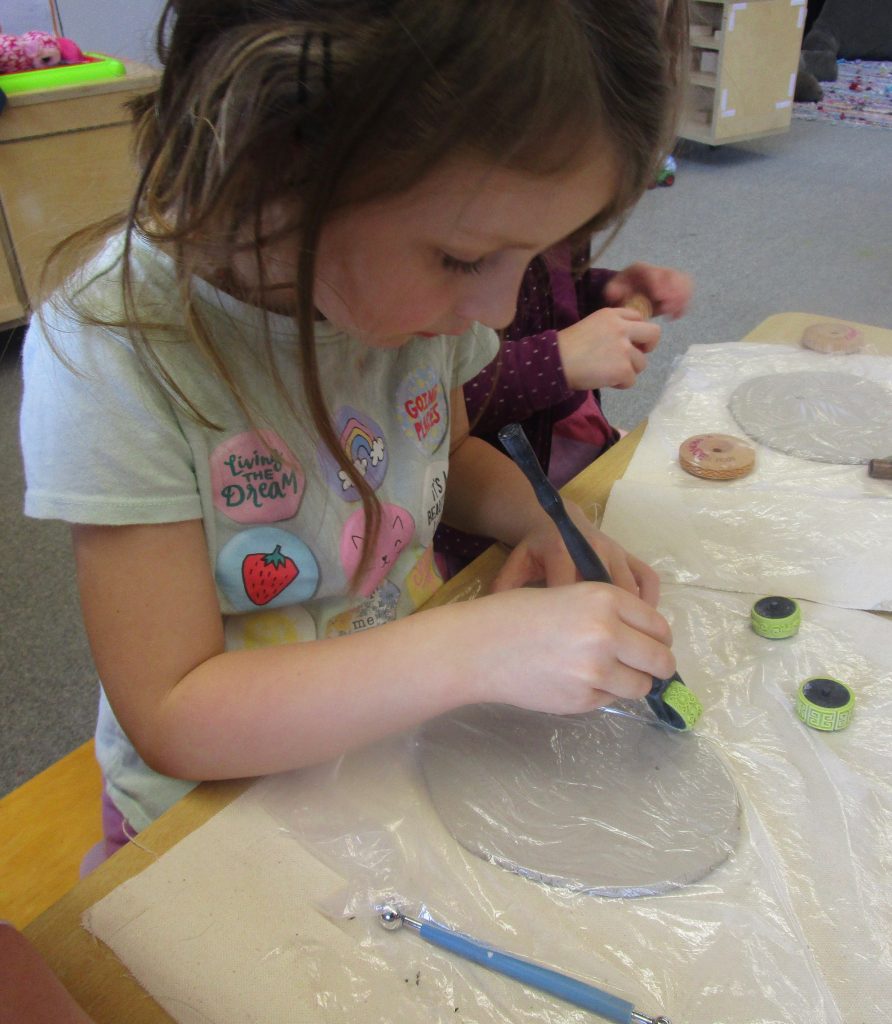
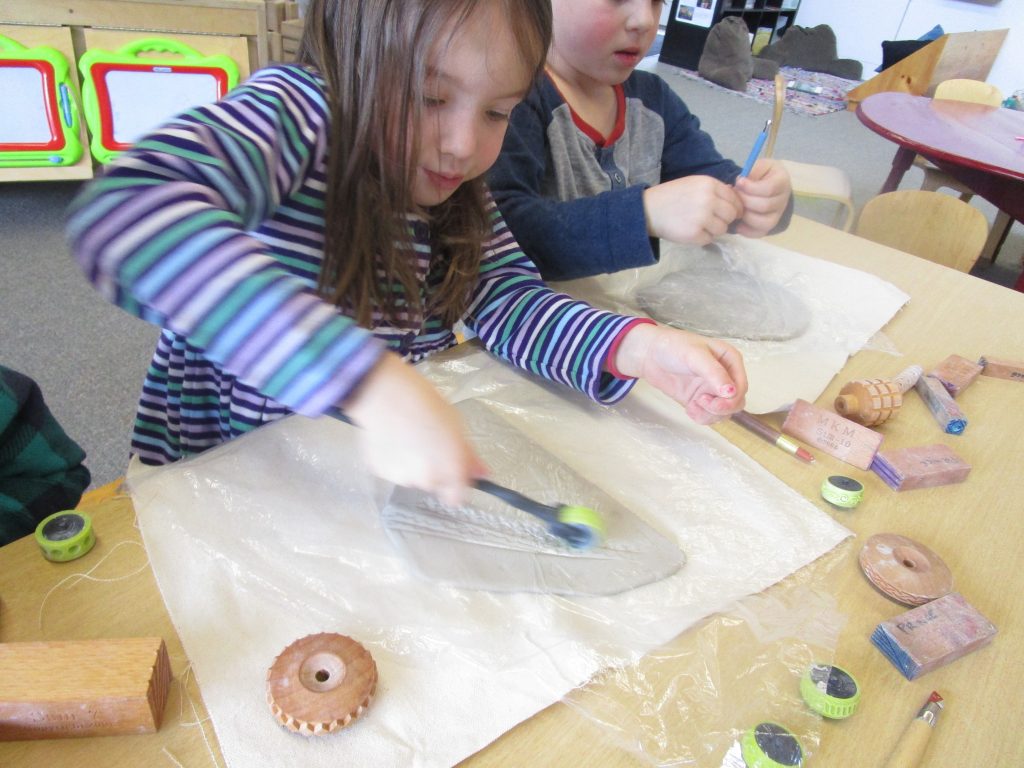
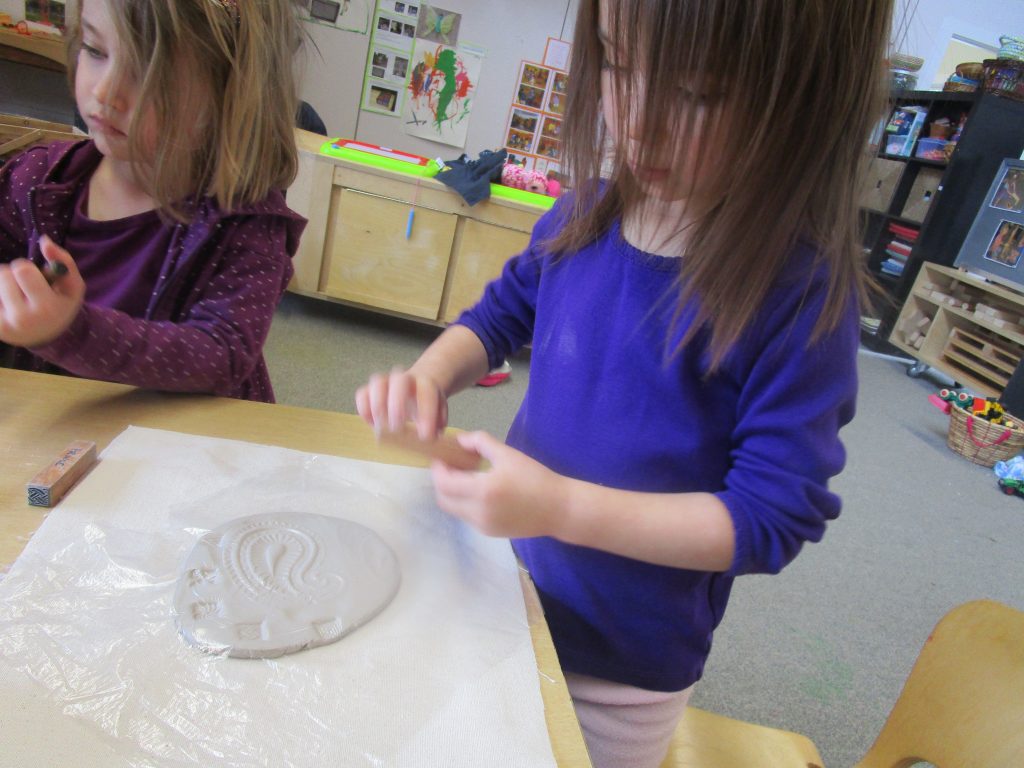
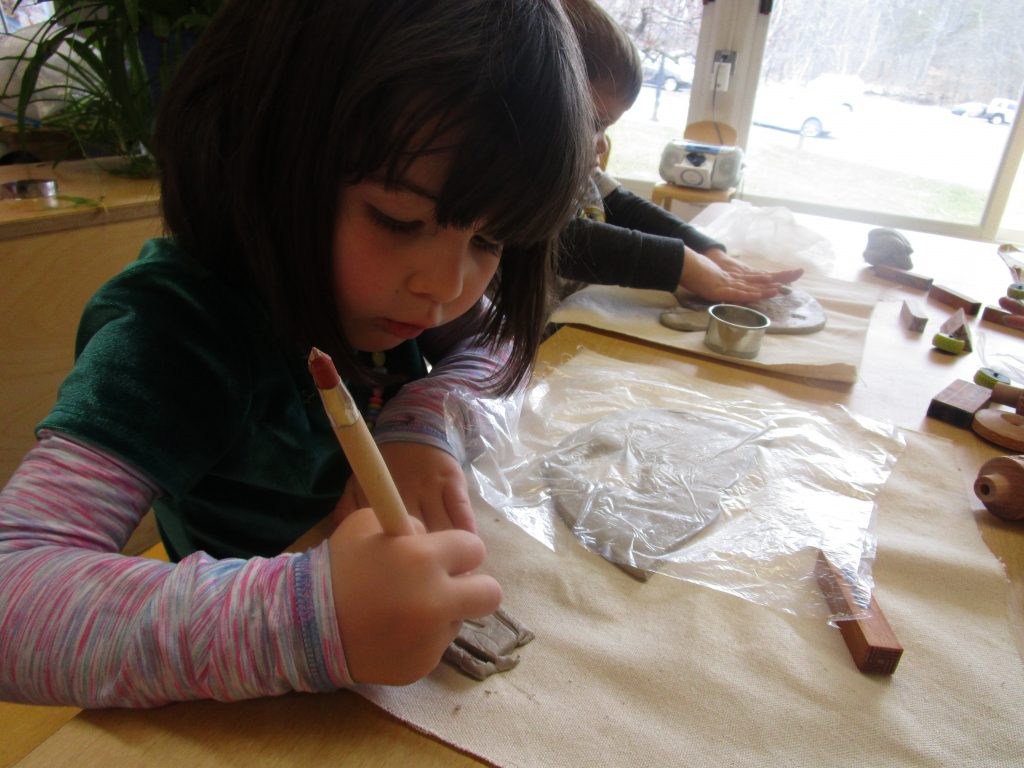
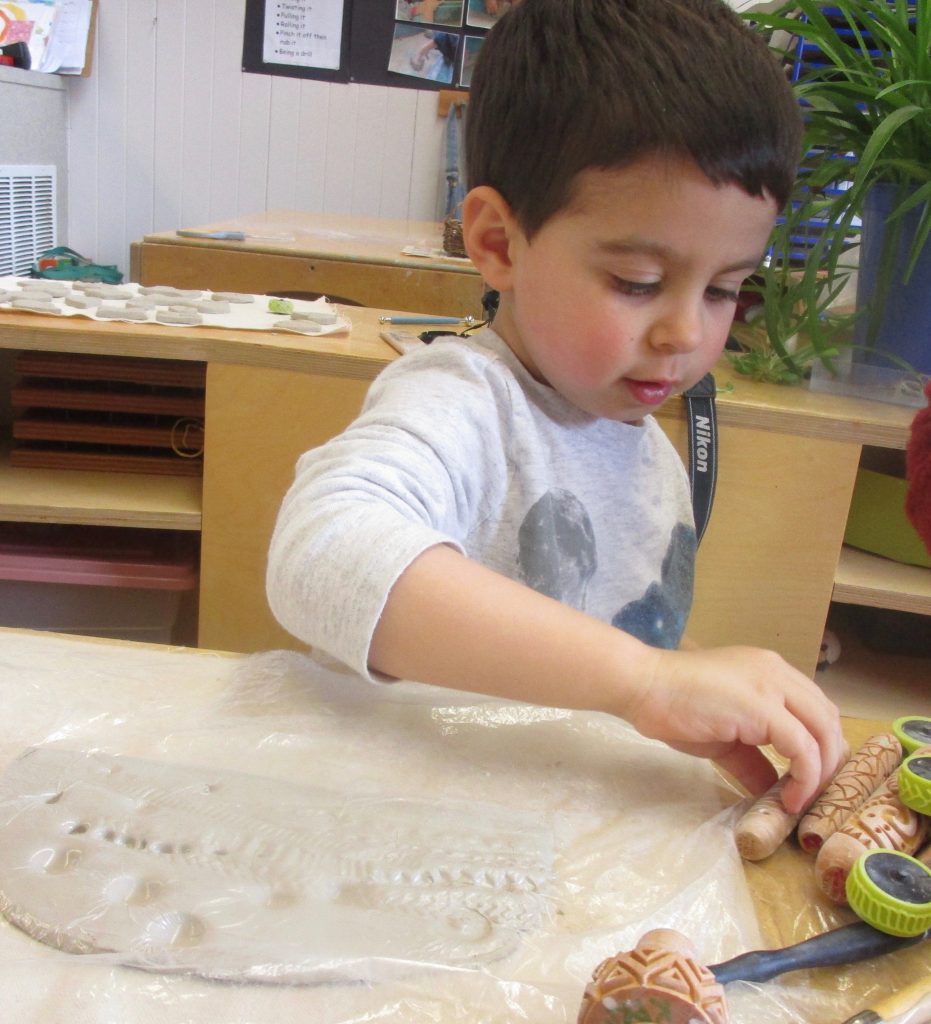
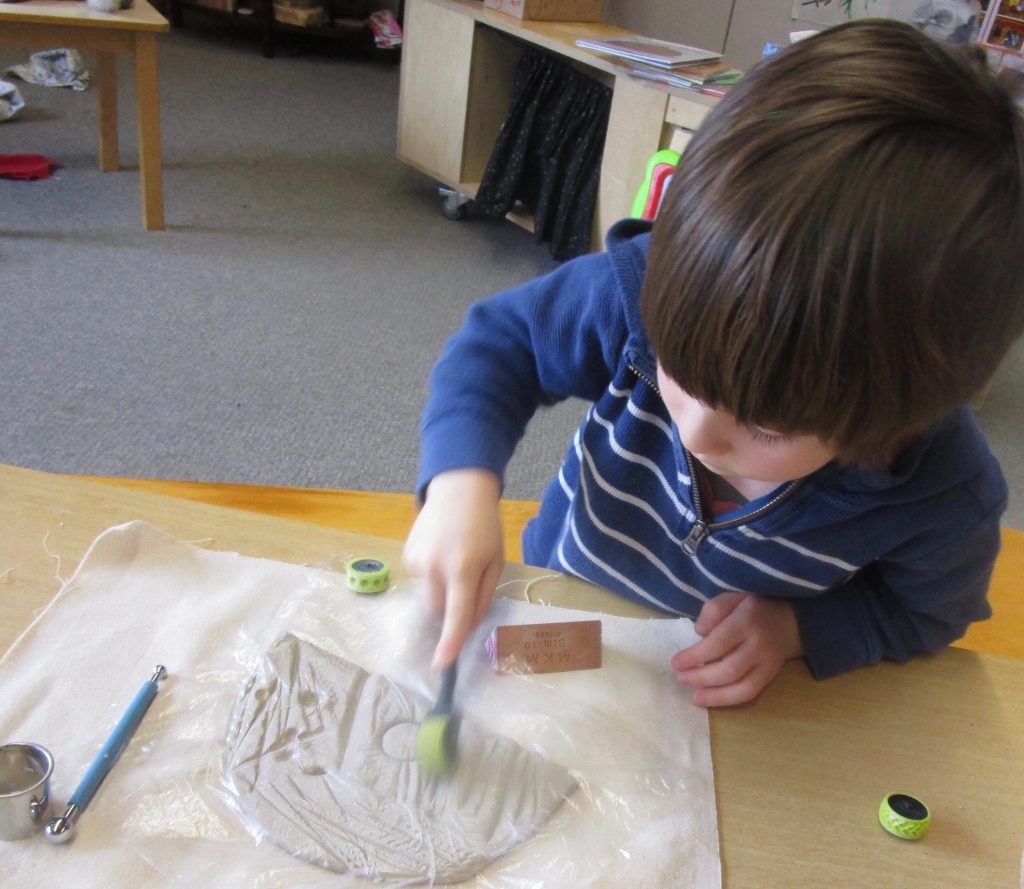
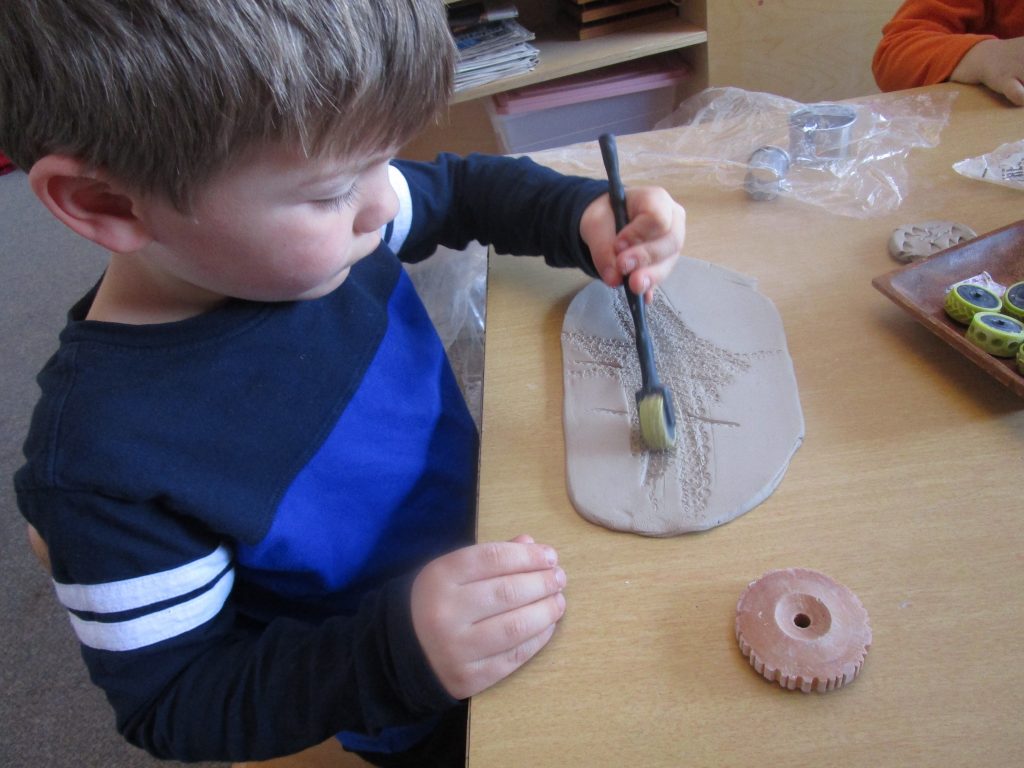
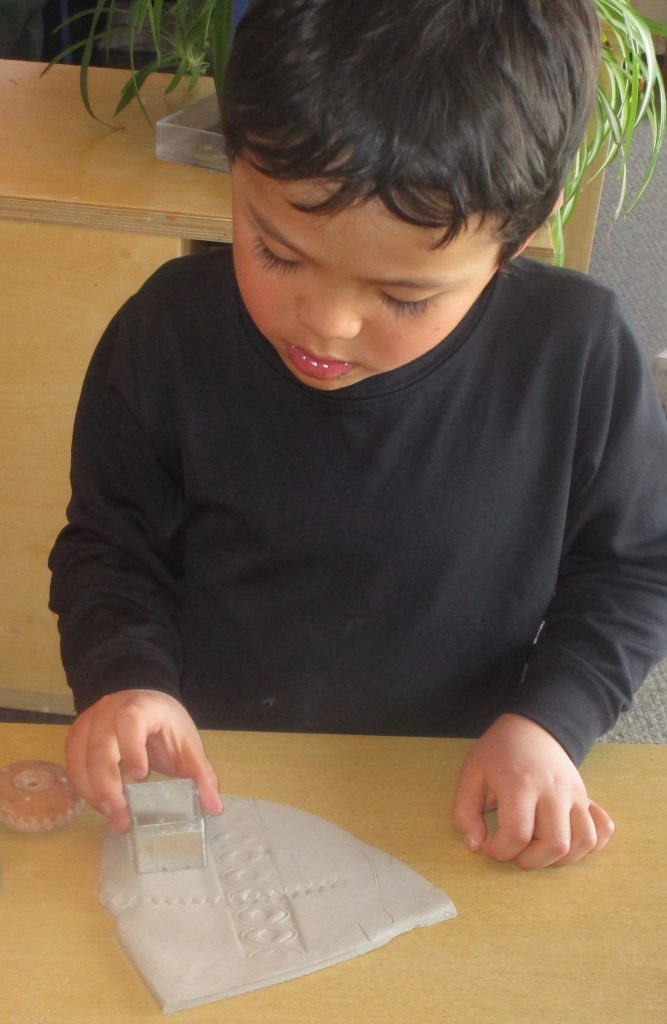
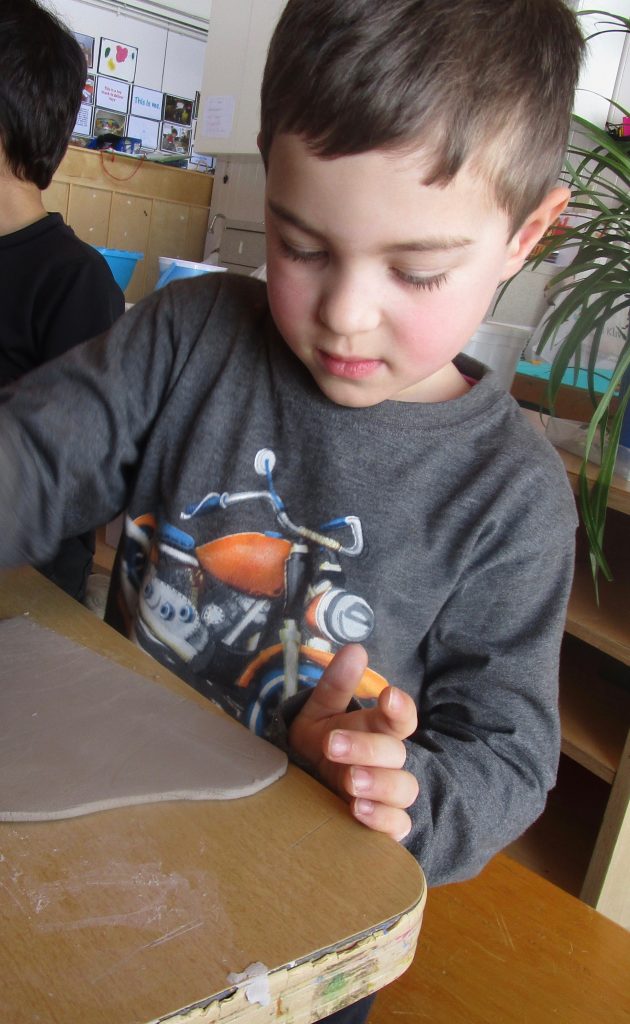
Look at my design! Look it’s a pattern! I’m making wheels, see? Can I use that after you? I’m making a train. Mine looks really pretty! What does this do? I like your’s!
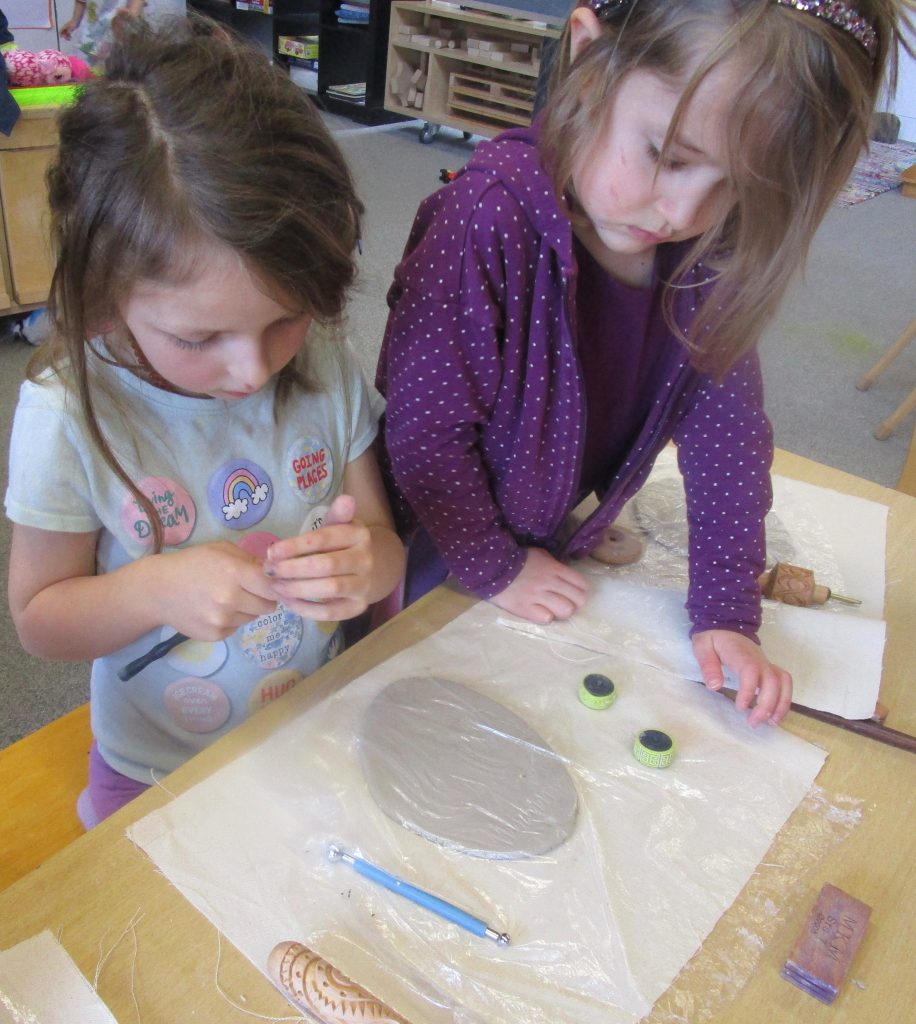
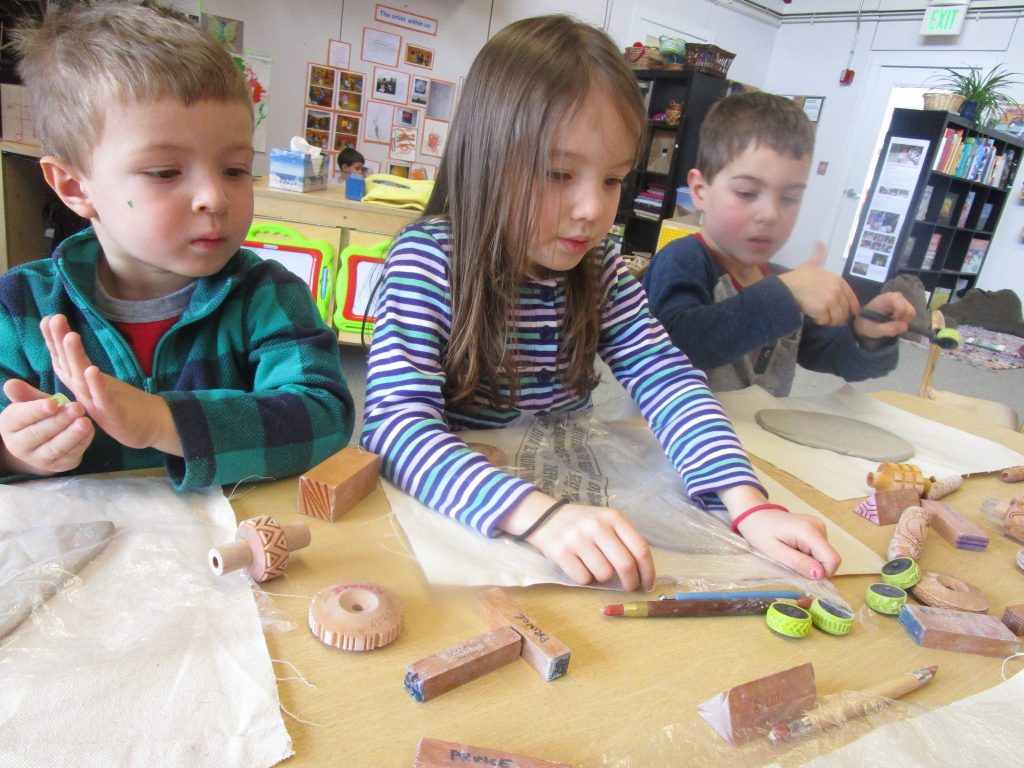
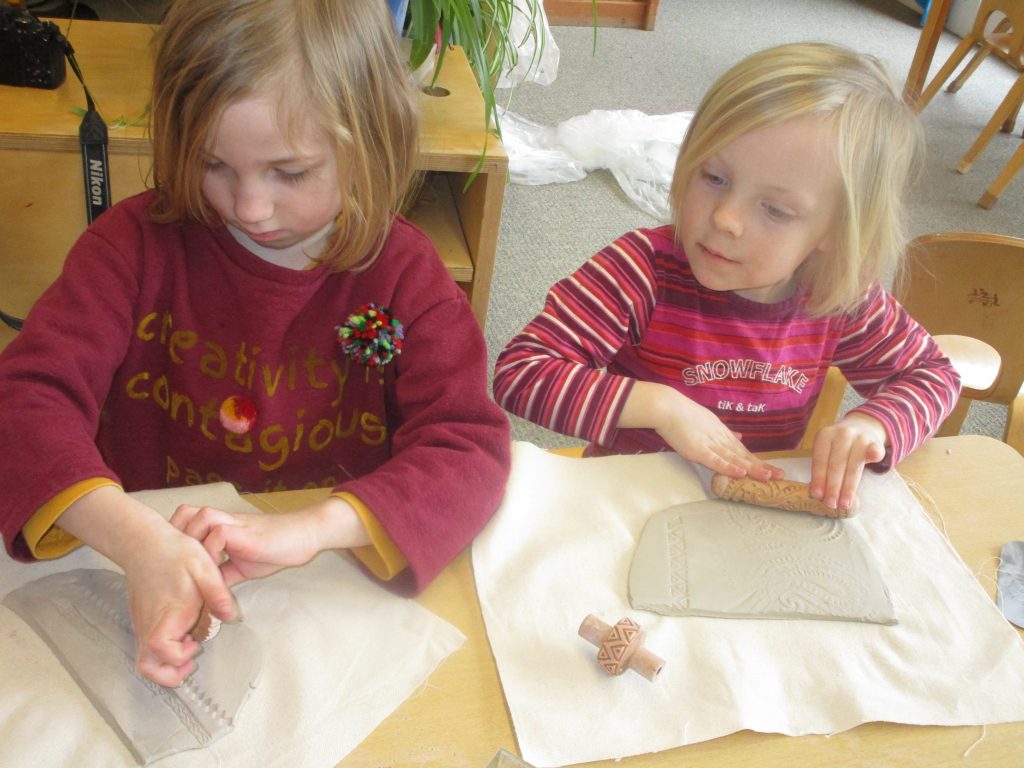
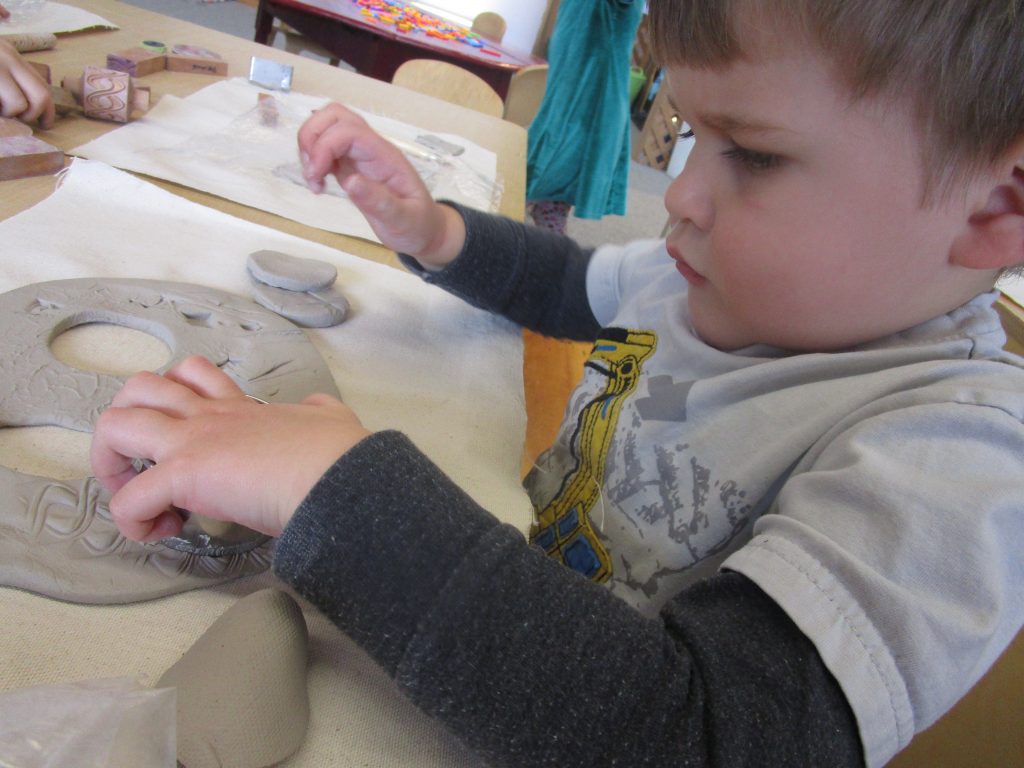
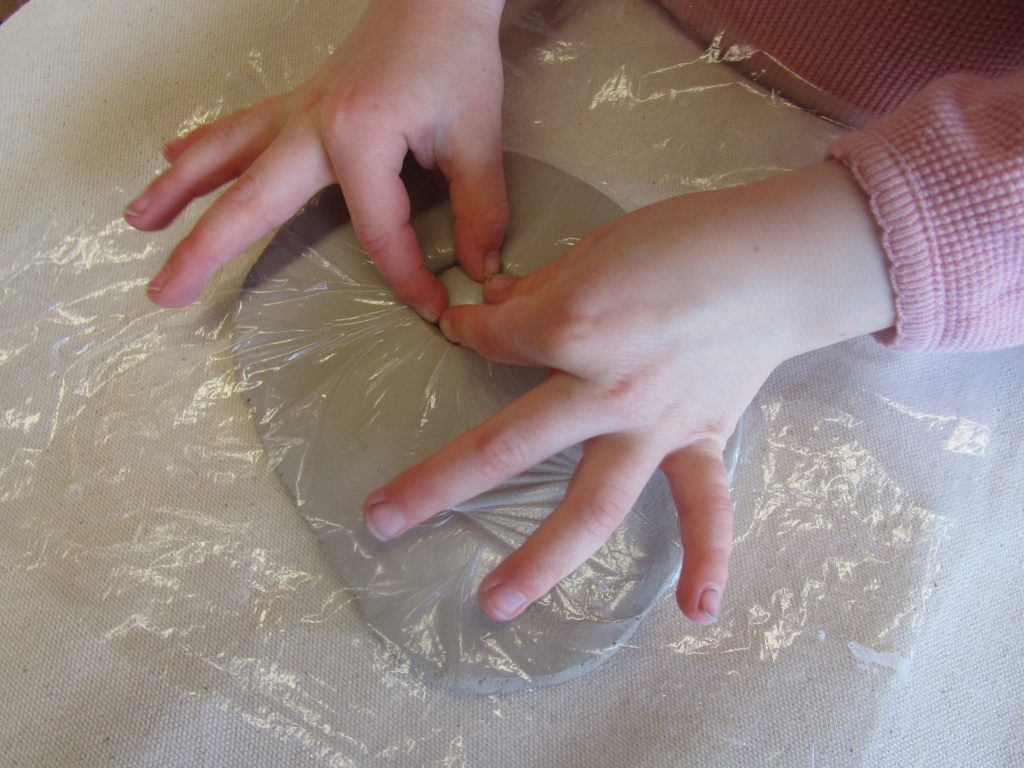
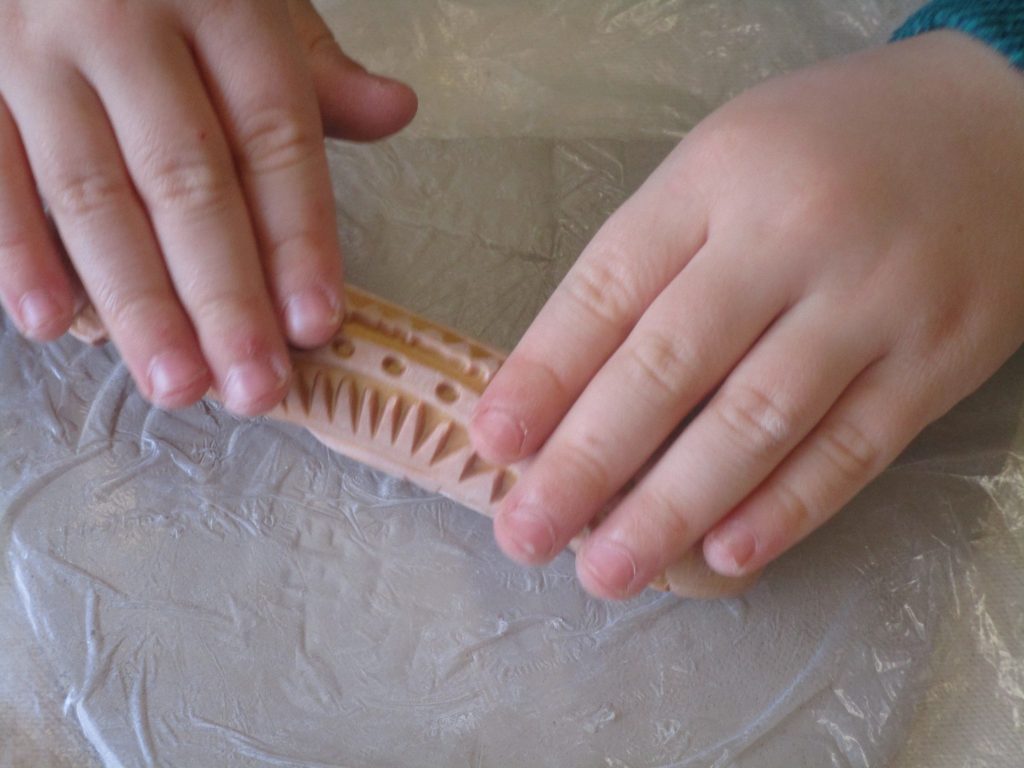
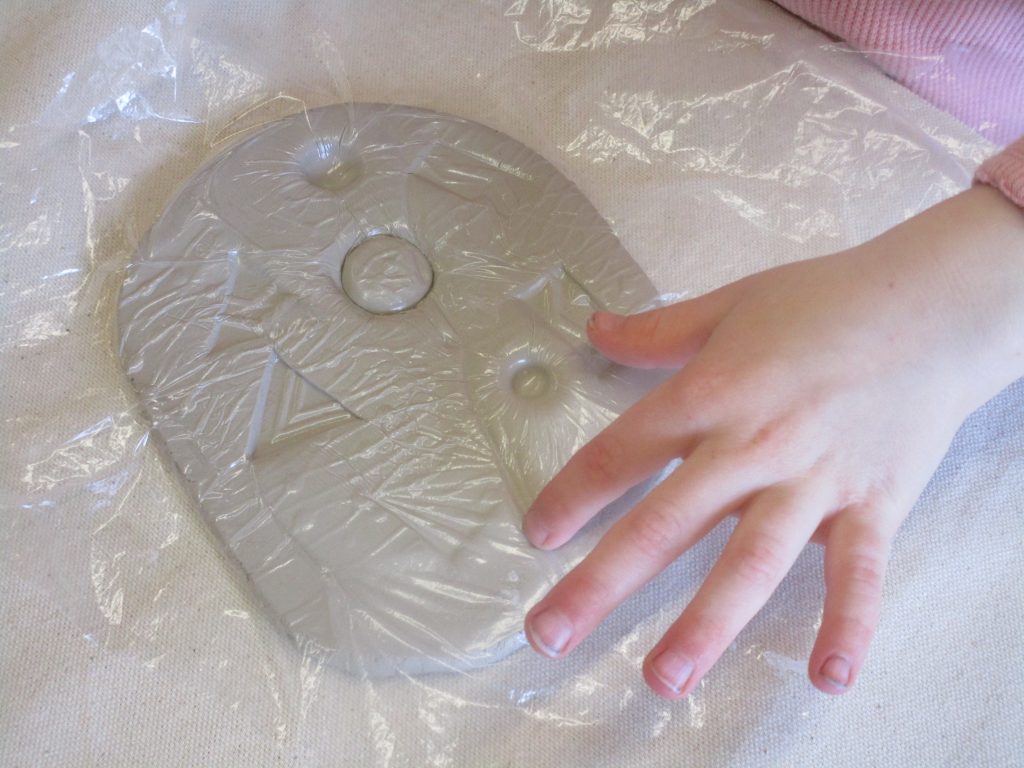
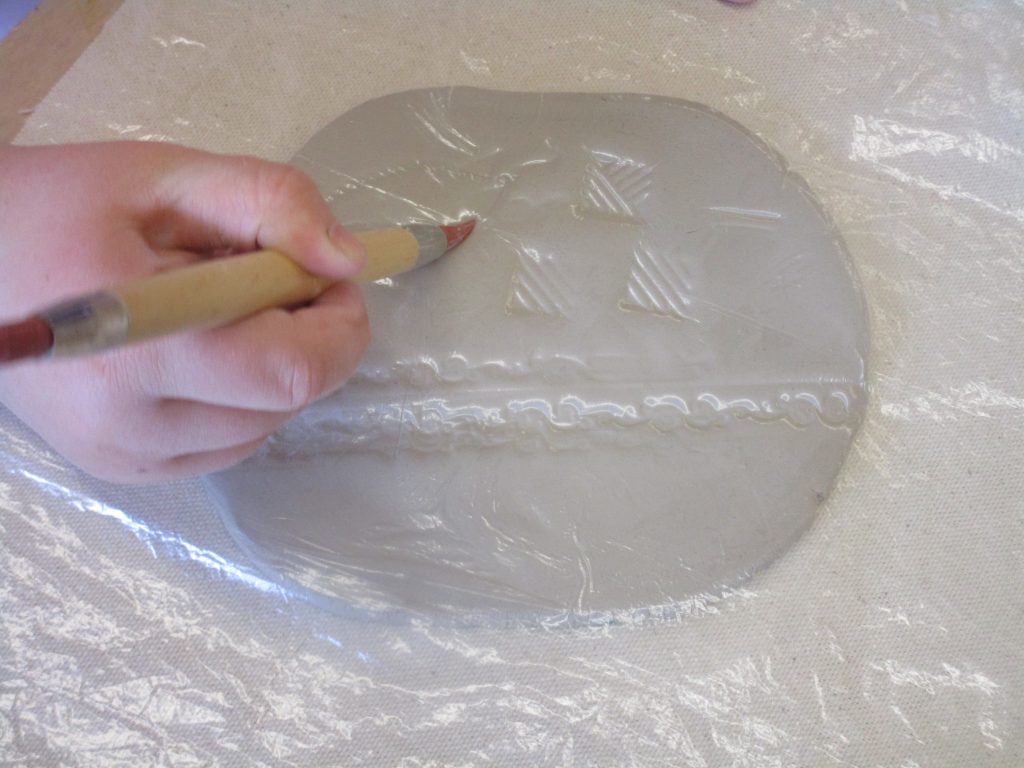
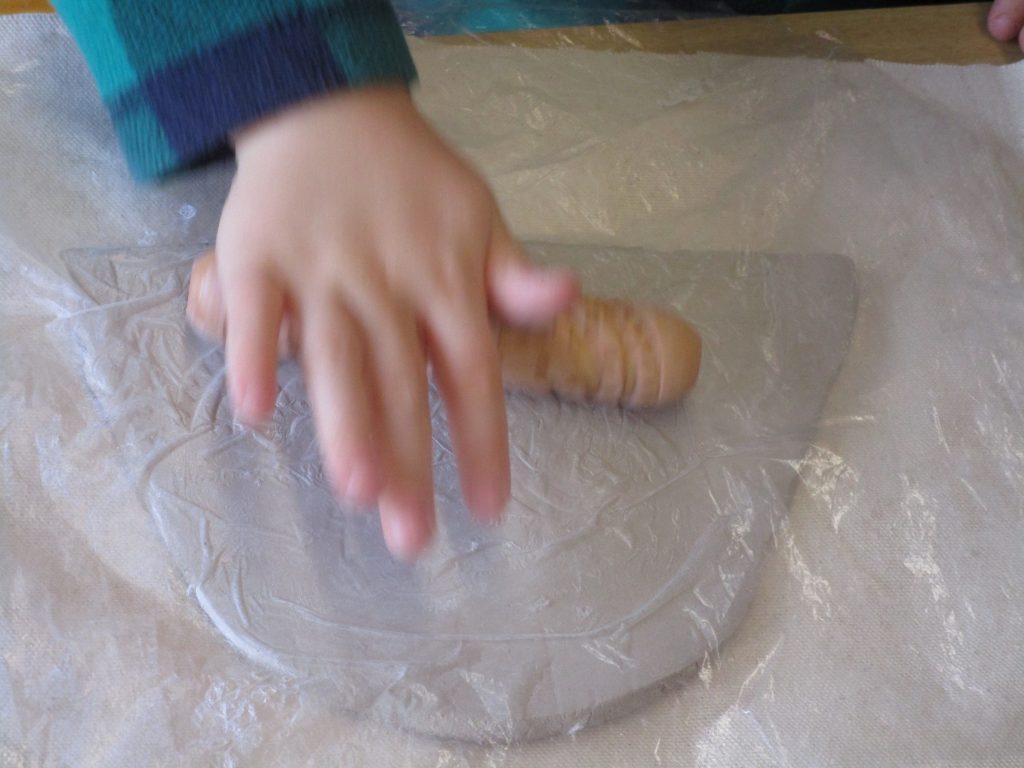
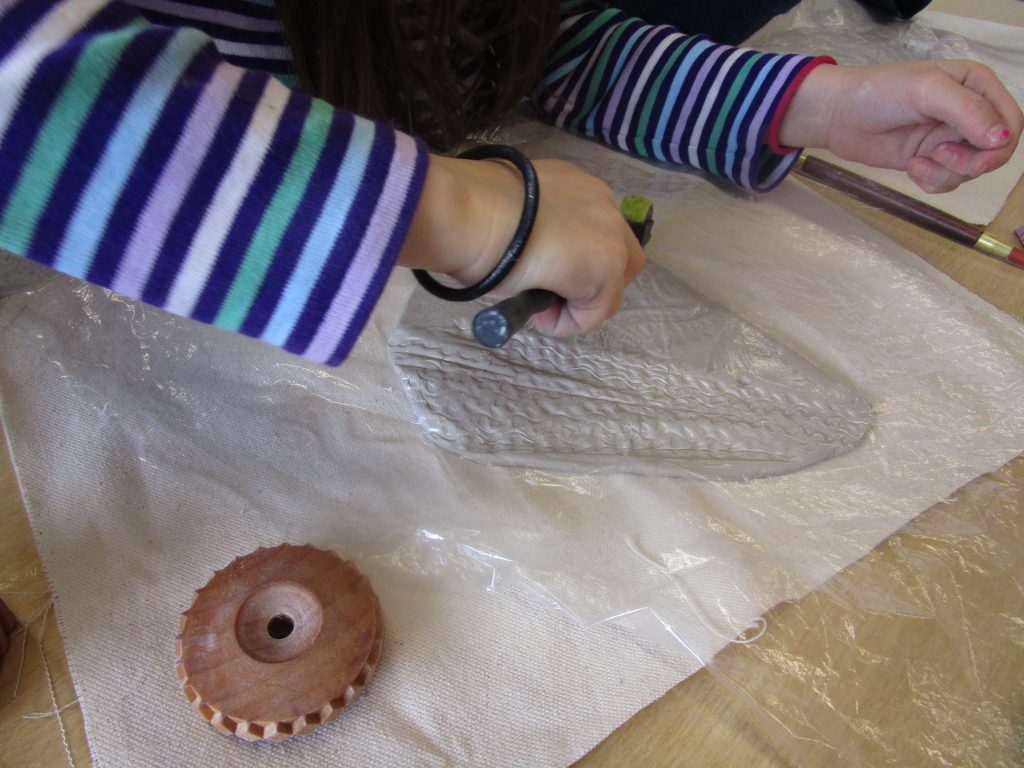
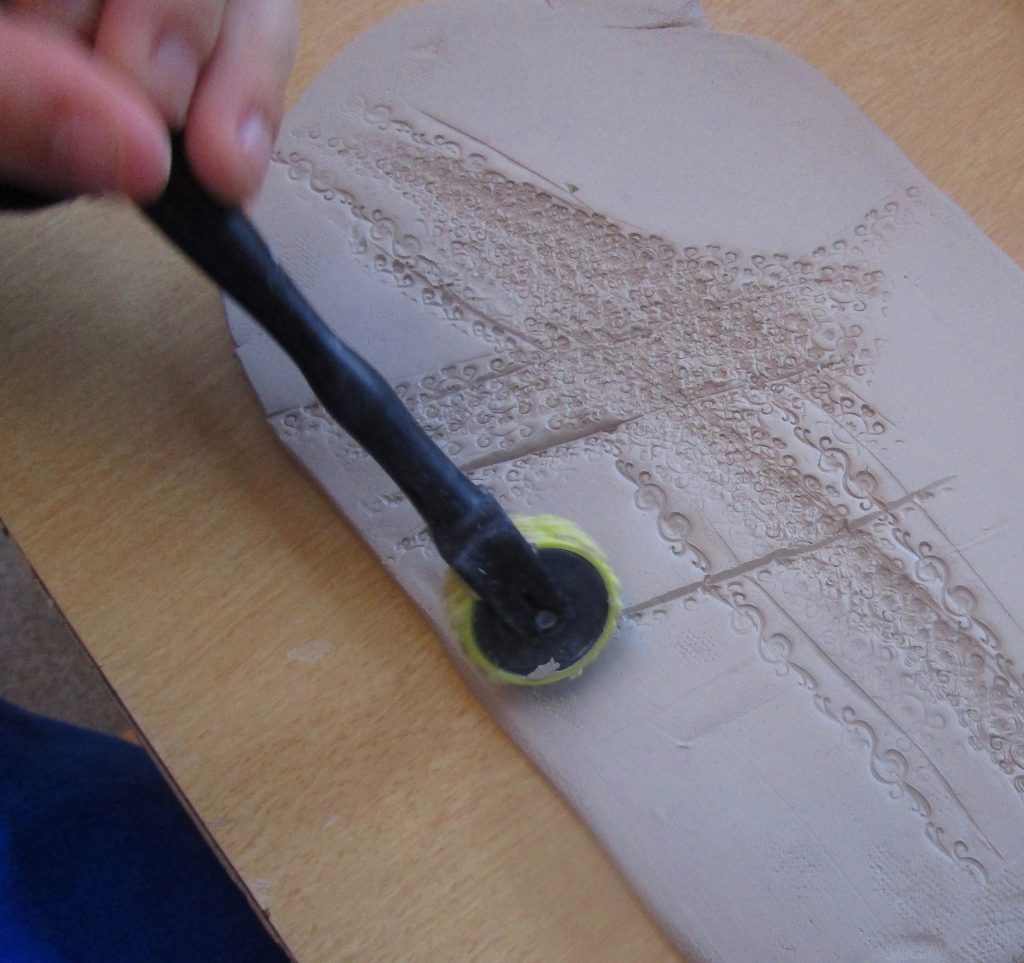
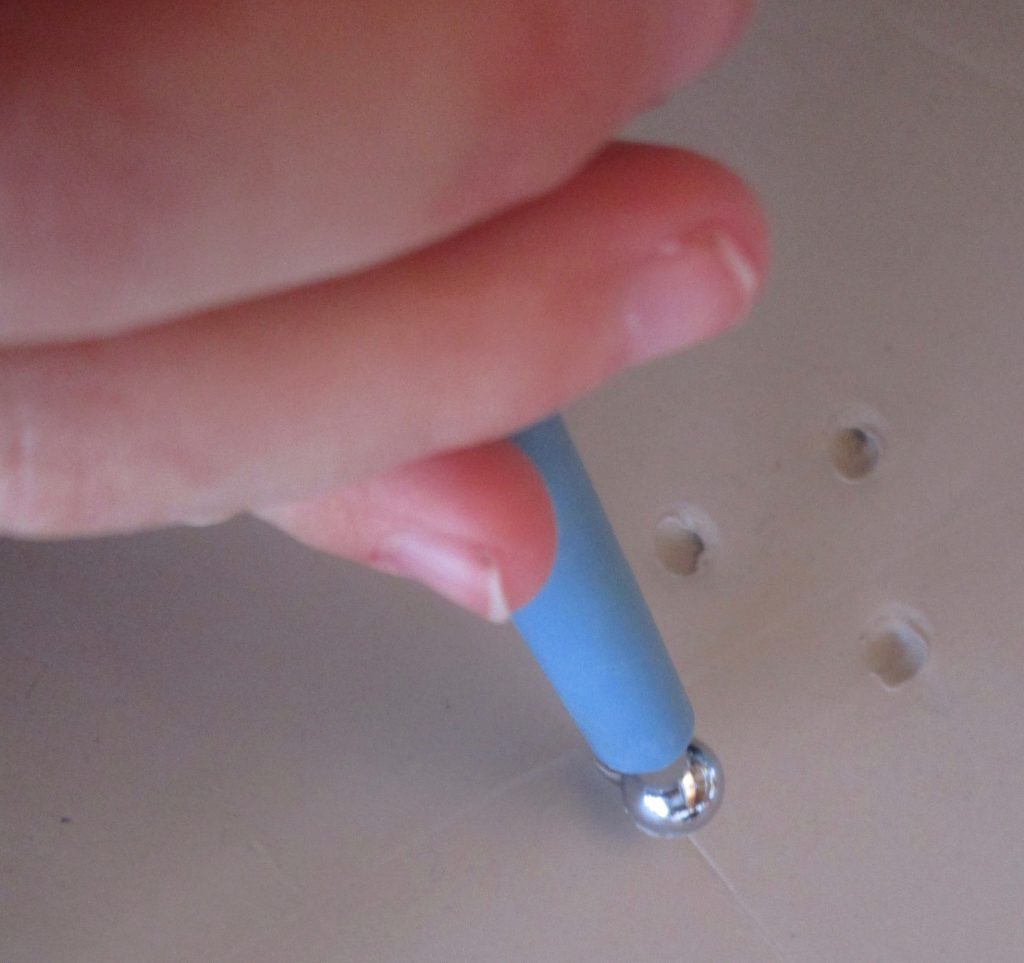
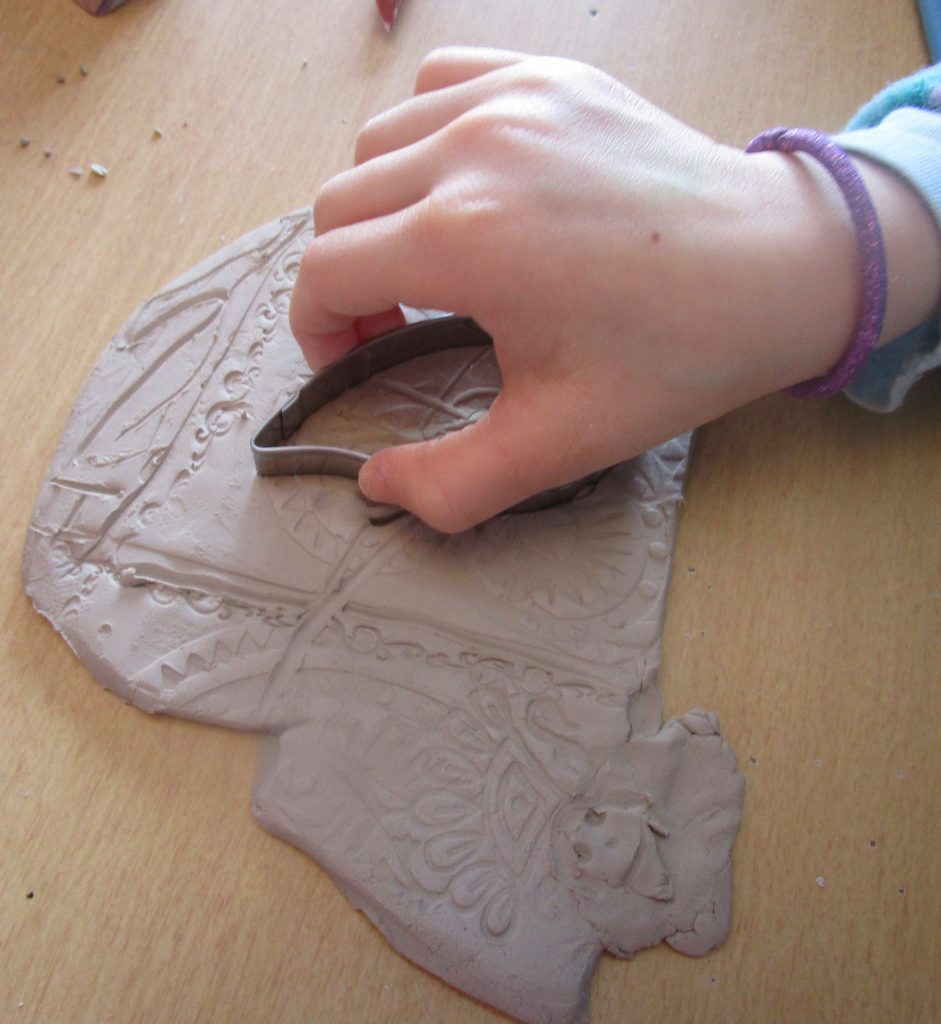
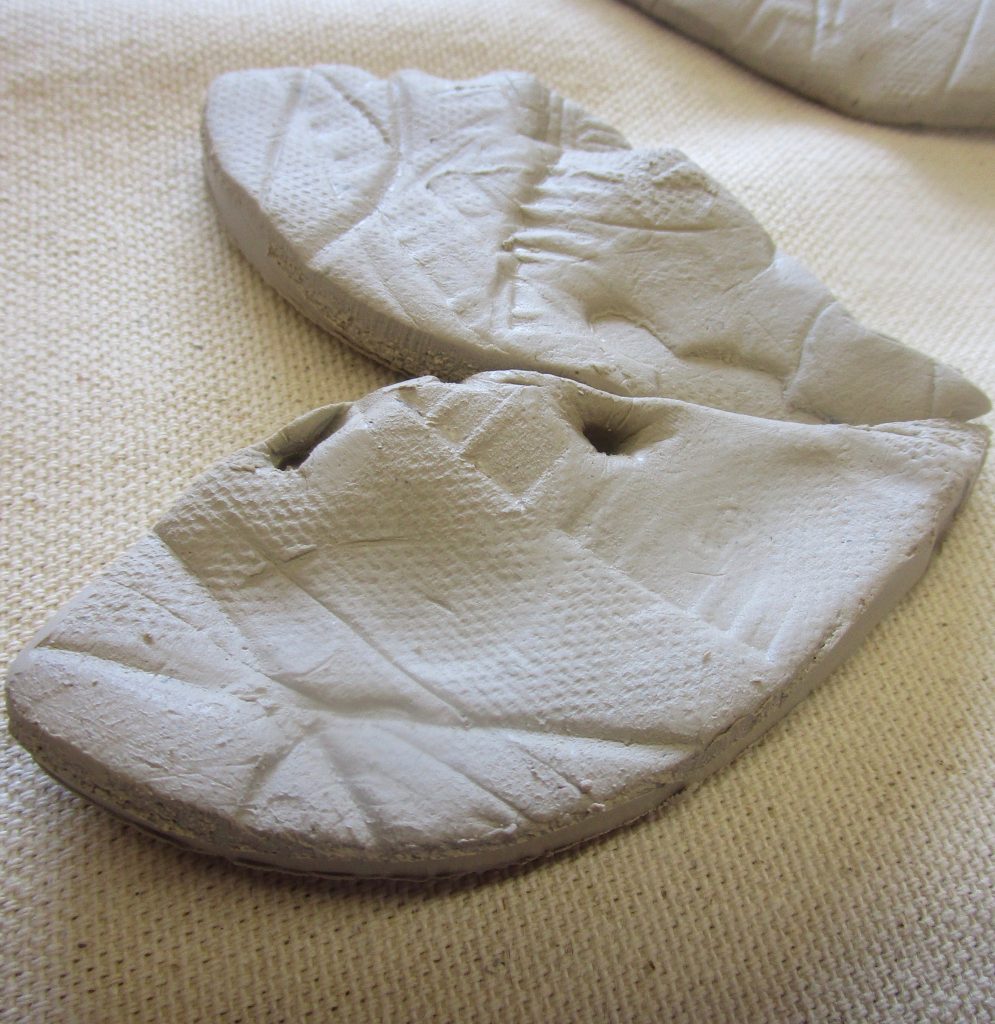
The clay was rolled, smoothed, poked, pinched, pressed, cut and printed…
We leave the clay creations to be dry before it is fired in a kiln. We will then glaze and re-fire before assembling the individual pieces into something spectacular! Watch this space!
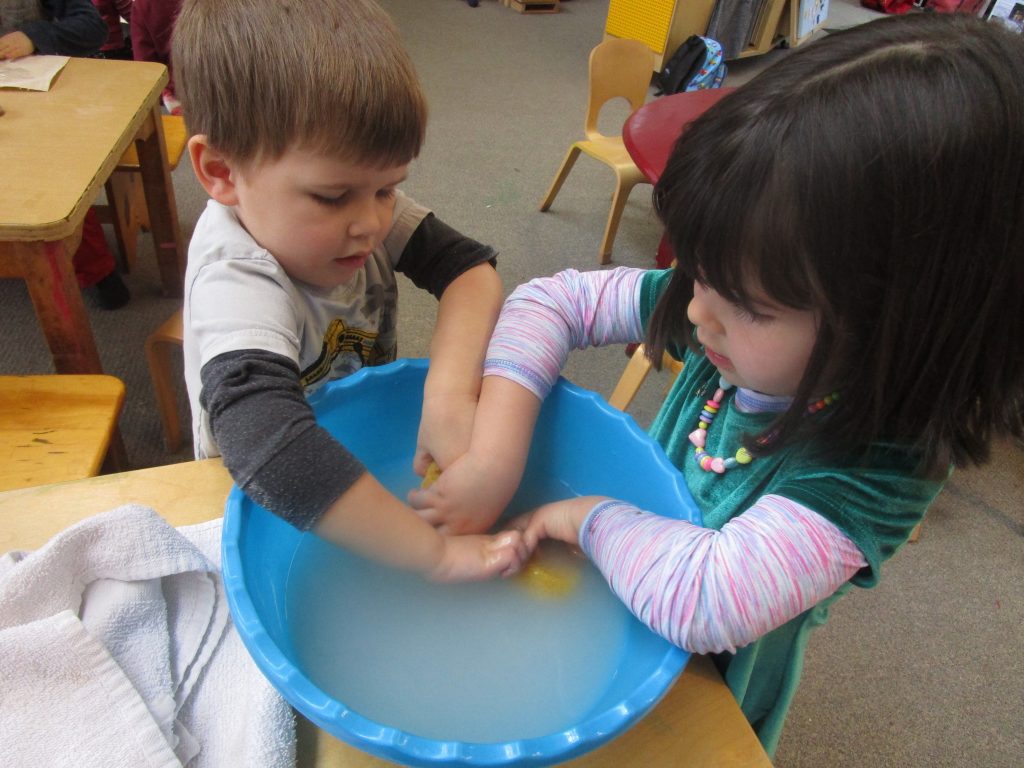
Julia and Cal enjoy taking time to wash the clay off their hands with the squishy sponges!
